Surya Namaskar, or Sun Salutation, is one of the most complete and powerful yoga practices. It is a sequence of 12 powerful yoga poses performed in a flow, synchronized with the breath. Traditionally practiced at sunrise, it revitalizes the body and mind, preparing you for the day ahead.
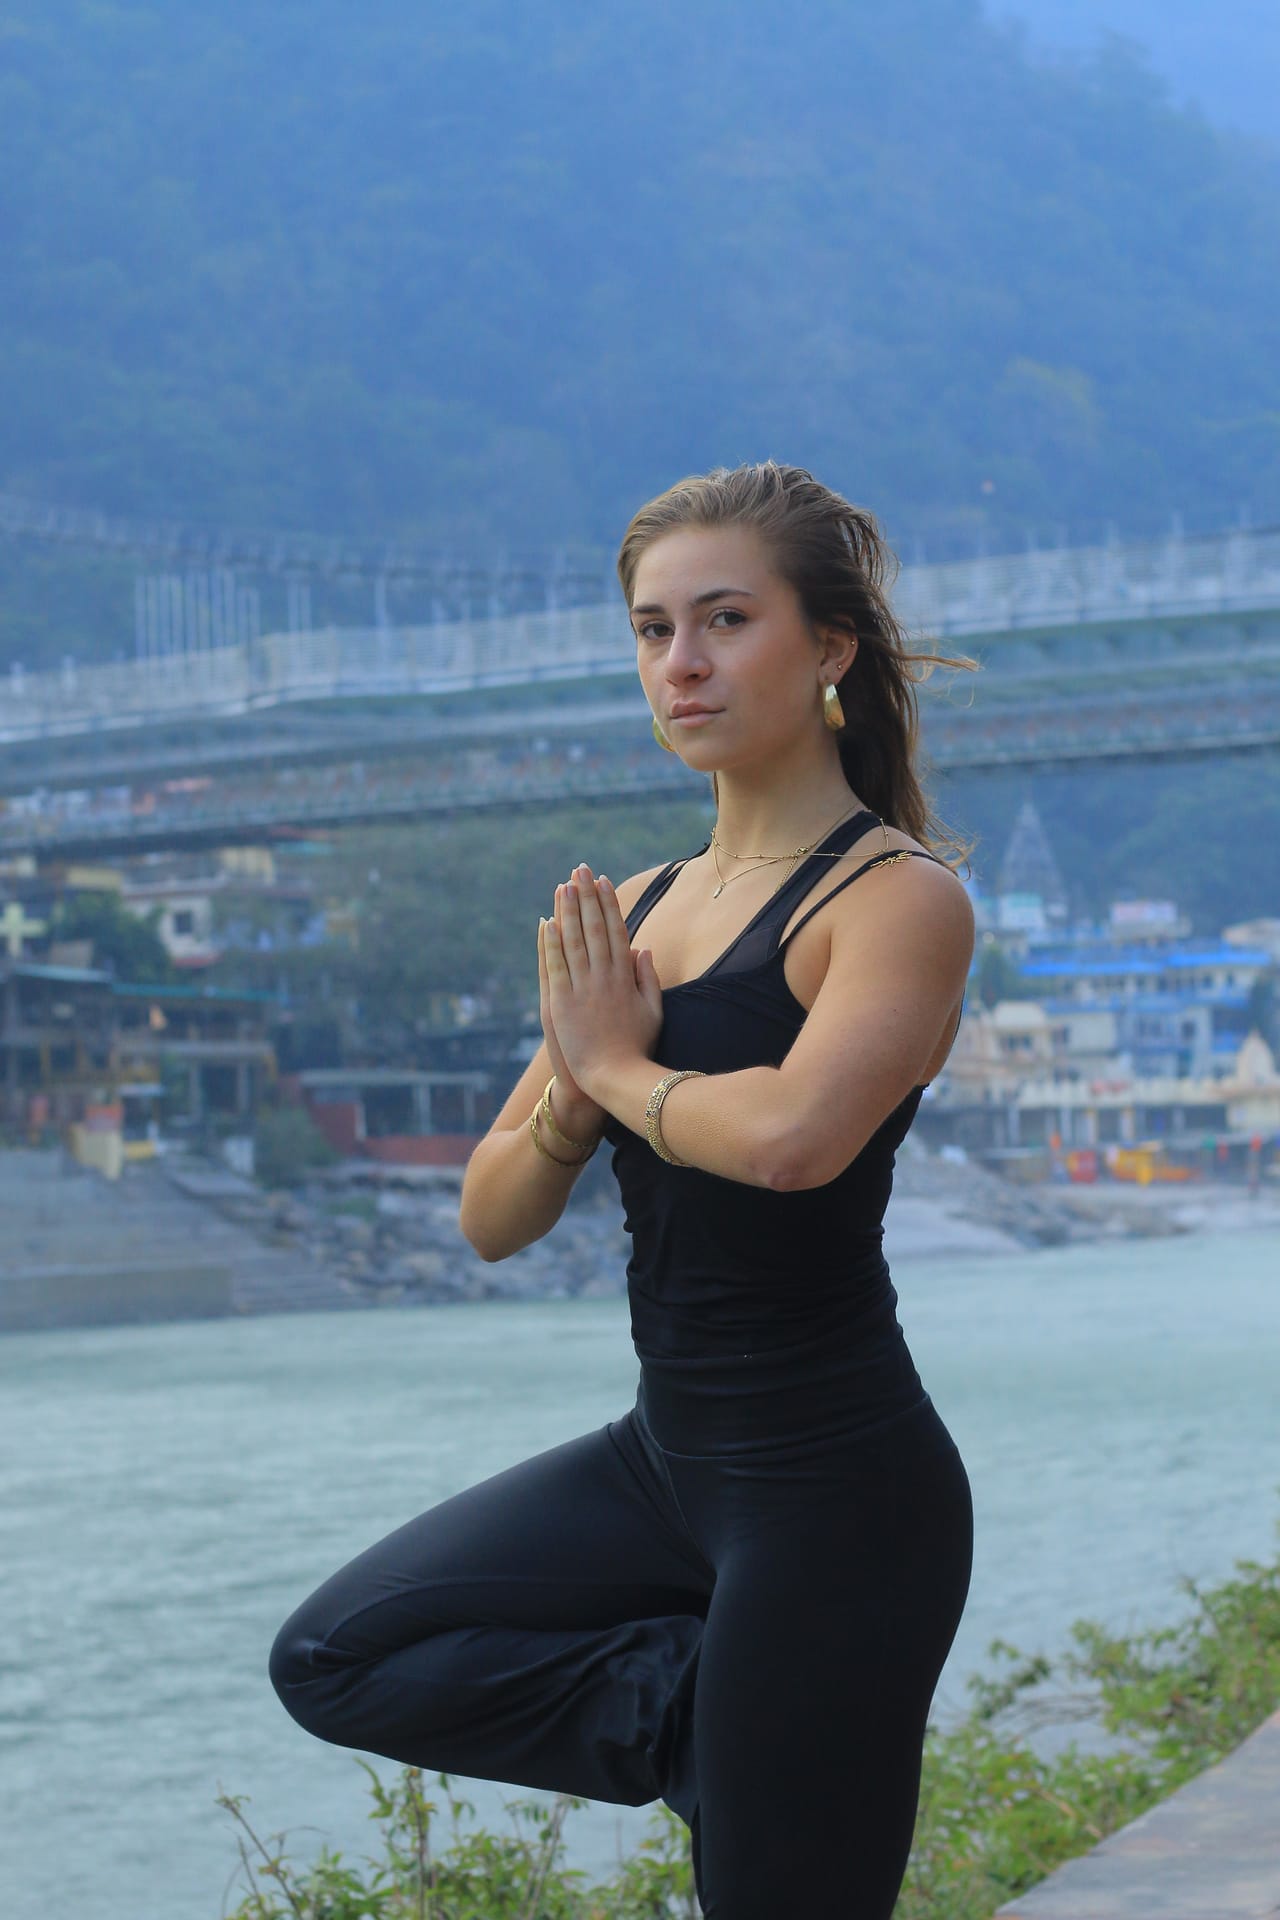
What makes Surya Namaskar so valuable is its completeness. In a few short minutes it moves the spine through forward bends and backbends, lengthens the hamstrings and hip flexors, builds strength through the arms, shoulders and core, and gently raises the heart rate. It is, in effect, a whole yoga class compressed into a single repeating wave. Practised at Swaastik Yog School in Rishikesh as the foundation of every morning, it is also a moving meditation — the steady rhythm of breath and movement quiets the mind in a way that few other practices can.
The Meaning Behind the Practice
The name comes from two Sanskrit words: Surya, meaning sun, and Namaskar, meaning salutation or bowing. The sun has long been honoured in the yogic tradition as the source of all life and vitality, and the practice is offered as a daily gesture of gratitude. But beyond its devotional roots, Surya Namaskar is profoundly practical. Each round threads twelve postures together with the breath, so that movement and breath become a single continuous current. This is why teachers often describe it as the bridge between asana and pranayama — it trains the body and the breath to move as one.
The 12 Steps of Surya Namaskar — Benefits and Breath
Below is each of the twelve positions with the specific benefit it offers and the breath that accompanies it. As a guiding principle: backward bends and expansions are taken on an inhale, forward folds and contractions on an exhale. The breath leads; the body follows.
- Pranamasana (Prayer Pose) — breathe normally: Stand at the edge of your mat, feet together, palms joined in front of the chest. This first moment is one of grounding and intention. It steadies the mind, centres your awareness, and establishes an even, balanced posture before movement begins. Treat it as the still point you will return to.
- Hastauttanasana (Raised Arms Pose) — inhale: Lift the arms up and back, stretching the whole body from the heels to the fingertips. This opens the chest, lungs and abdomen, stretches the front of the body, and improves the capacity of the breath. It tones the arms and back and gives the spine a healthy extension.
- Hastapadasana (Hand to Foot Pose) — exhale: Bend forward from the hips, keeping the spine long, and bring the hands toward the floor beside the feet. This fold lengthens the hamstrings and calves, decompresses the spine, sends fresh blood toward the head, and gently massages the abdominal organs to support digestion.
- Ashwa Sanchalanasana (Equestrian Pose) — inhale: Step the right leg back, drop the knee, and lift the chest with the gaze forward. This deeply stretches the hip flexors and psoas — muscles that shorten with sitting — strengthens the legs, and opens the chest while toning the lower back.
- Dandasana (Plank / Stick Pose) — exhale: Step the left leg back so the body forms one straight line from heels to crown. This builds real strength: the core, the arms, the shoulders and the wrists all work to hold the body firm. It teaches the steadiness and integration that support every other posture. (In some lineages this position is held on a held breath; exhaling into it keeps the practice accessible.)
- Ashtanga Namaskara (Salute with Eight Parts) — exhale, hold the breath out: Lower the knees, then the chest and chin, so that eight points — two feet, two knees, two hands, chest and chin — touch the floor while the hips stay lifted. This strengthens the arms and chest and prepares the spine for the backbend that follows. It is a gesture of humility as well as a posture.
- Bhujangasana (Cobra Pose) — inhale: Slide forward and raise the chest into Cobra. This gentle backbend strengthens the spine, opens the chest and shoulders, and tones the abdomen — a key reason Surya Namaskar features in our recommended yoga sequences for back pain relief. Keep the elbows bent and the lift led by the back muscles rather than the hands.
- Adho Mukha Svanasana (Downward Facing Dog) — exhale: Lift the hips and tailbone up and back into an inverted 'V'. This lengthens the entire back body — hamstrings, calves and spine — strengthens the shoulders and arms, and brings a mild, refreshing inversion that calms the mind and eases mental fatigue.
- Ashwa Sanchalanasana (Equestrian Pose) — inhale: Step the right foot forward between the hands and lift the chest. This second lunge balances the first, stretching the opposite hip flexor and re-energising the legs and lower back.
- Hastapadasana (Hand to Foot Pose) — exhale: Bring the left foot forward to meet the right and fold over the legs once more. This repeats the lengthening of the back of the body and the gentle abdominal compression that aids digestion.
- Hastauttanasana (Raised Arms Pose) — inhale: Roll the spine up vertebra by vertebra, sweep the arms overhead and lift into a slight backbend. This re-opens the chest and lungs and brings the body back to a tall, expansive shape.
- Tadasana (Mountain Pose) — exhale: Straighten the body and lower the arms to the sides. Stand evenly and feel the effect of the round settle through you. This restores balance and a sense of calm, grounded presence.
One complete round is twelve postions on the right side; a second round leads with the left leg in steps 4 and 9, so that the body is worked symmetrically. Two rounds together — right lead and left lead — make a full pair.
How the Breath Synchronises With the Movement
The breath is not an afterthought in Surya Namaskar — it is the practice. The simple principle is this: open and lift on the inhale, fold and contract on the exhale. When you raise the arms or lift the chest, the ribcage naturally wants to expand, so you inhale. When you fold forward, the abdomen compresses, so you exhale. Allowing the breath to lead the movement turns the sequence from a series of poses into a single flowing wave.
For beginners, the breath will often feel rushed or run out partway through a movement. This is completely normal. Slow the whole practice down until each movement comfortably fills one full breath. If a pose takes longer than one breath — Plank or Cobra, for example — simply take an extra calm breath there rather than rushing. With time, the breath lengthens and the practice finds its own unhurried rhythm. The breath should always stay smooth; if it becomes ragged or you find yourself holding it, you are moving too fast.
Benefits of Surya Namaskar
- Cardiovascular health: Improves blood circulation and heart health, and when practised at a brisk pace gives a genuine aerobic effect.
- Strength and tone: Strengthens muscles and joints throughout the body — arms, shoulders, core, back and legs all share the work.
- Flexibility: Moves the spine through its full range and lengthens the hamstrings, hip flexors and shoulders.
- Digestion: The alternating compression and extension of the abdomen massages the internal organs and supports healthy digestion.
- Weight management: Practised dynamically, it raises the metabolic rate and helps tone the whole body.
- Mental calm: The union of breath and movement calms the mind, reduces anxiety, and builds focus — it is a moving meditation.
- Hormonal and respiratory support: Regular practice supports the endocrine and respiratory systems and gradually increases lung capacity.
Common Alignment Mistakes to Avoid
Surya Namaskar looks simple, but a few recurring errors reduce its benefit and, over time, can cause strain. Watch for these:
- Collapsing the lower back in Raised Arms Pose: Many people throw the head back and crunch the lumbar spine. Instead, lengthen up first, draw the front ribs gently in, and let the backbend spread evenly through the upper back.
- Rounding the spine in the forward fold: Folding from the waist with a rounded back strains the lower back. Hinge from the hips, keep the spine long, and bend the knees as much as you need to.
- Sagging hips in Plank: Letting the hips drop loads the lower back. Press the floor away, draw the navel in, and keep one straight line from heels to head.
- Pushing too high in Cobra: Straightening the arms fully often pinches the lower back. Keep the elbows bent, the shoulders down away from the ears, and let the back muscles do the lifting.
- Heels and head position in Downward Dog: Forcing the heels down rounds the spine. Prioritise a long back over flat heels, and let the head and neck hang freely rather than gripping.
- Holding the breath: When the breath stops, the practice loses its meditative quality. Keep it flowing and let it set the pace.
Modifications for Beginners and Stiff Bodies
Surya Namaskar is for every body. The shapes adapt readily, and a well-modified practice is just as valuable as a deep one.
For beginners and stiffer bodies
- Bend the knees generously in every forward fold. There is no virtue in straight legs and a rounded spine; a long spine with bent knees is always the better choice.
- Use blocks under the hands for the forward folds and lunges so the floor effectively comes up to meet you.
- Lower the knees in Plank, taking a half-plank, until the core is strong enough for the full position.
- Choose Sphinx or a low Cobra instead of a deep backbend, and rest the forearms down for support.
- Slow everything down. Take extra breaths in any pose. Speed is never the goal in the early stages.
For wrist issues
- Practise on the forearms where possible — replace Plank and Cobra with Forearm Plank and Sphinx.
- Use a folded mat or a wedge under the heels of the hands to reduce the angle at the wrist.
- Spread the fingers wide and press evenly through the whole hand, especially the knuckle of the index finger, so the load does not collect in the wrist crease.
For back issues
- Keep all backbends gentle — a low Cobra or Sphinx rather than a deep arch — and led by the back muscles, not the arms.
- Bend the knees deeply in forward folds and consider coming up from a fold with bent knees and a long spine to protect the lower back.
- If you have a diagnosed back condition, learn the sequence under direct supervision and leave out any movement that provokes pain.
How Many Rounds and When to Practise
Traditionally, Surya Namaskar is practised at sunrise on an empty stomach, facing the rising sun. The early morning is ideal: the mind is quiet, the air is fresh, and the practice sets a clear, energised tone for the day. If mornings are not possible, practise at any time of day on an empty stomach — wait at least two to three hours after a meal.
Beginners should start with 2 to 4 rounds (counting a right-lead and left-lead pair as two rounds) and focus entirely on coordinating the breath with the movement. As strength and stamina build, work gradually toward 6, 12, or more rounds. Many committed practitioners build to 12 rounds; some traditions encourage a daily practice of 24 or even 108 rounds, though such numbers should only ever be approached slowly, over months and years. Quality always outranks quantity — four mindful, breath-led rounds are worth far more than twenty rushed ones. End every session with a few minutes of quiet rest in Savasana so the body can absorb the work.
Contraindications: When Not to Practise
Surya Namaskar is generally very safe, but it is not appropriate for everyone in every condition. Take care or seek guidance in the following cases:
- Pregnancy: The dynamic version is not advised, particularly after the first trimester. Prenatal yoga offers safe, modified alternatives.
- High blood pressure or heart conditions: The repeated transitions between standing and folded positions can be demanding. Practise slowly, avoid deep backbends, and consult your doctor first.
- Back injuries, herniated disc, or sciatica: Forward folds and backbends should be modified and learned under supervision; some acute conditions call for rest from the practice altogether.
- Hernia or recent abdominal surgery: The repeated abdominal compression and extension are best avoided until fully healed.
- Wrist, shoulder or knee injuries: Modify the weight-bearing poses as described above, or practise a version that keeps weight off the affected joint.
- Acute illness, fever, or extreme fatigue: Rest instead. The practice is energising for a healthy body, but it asks for energy you may not have when unwell.
If you are unsure whether Surya Namaskar is right for you, learn it from a qualified teacher who can watch your alignment and tailor the practice to your body.
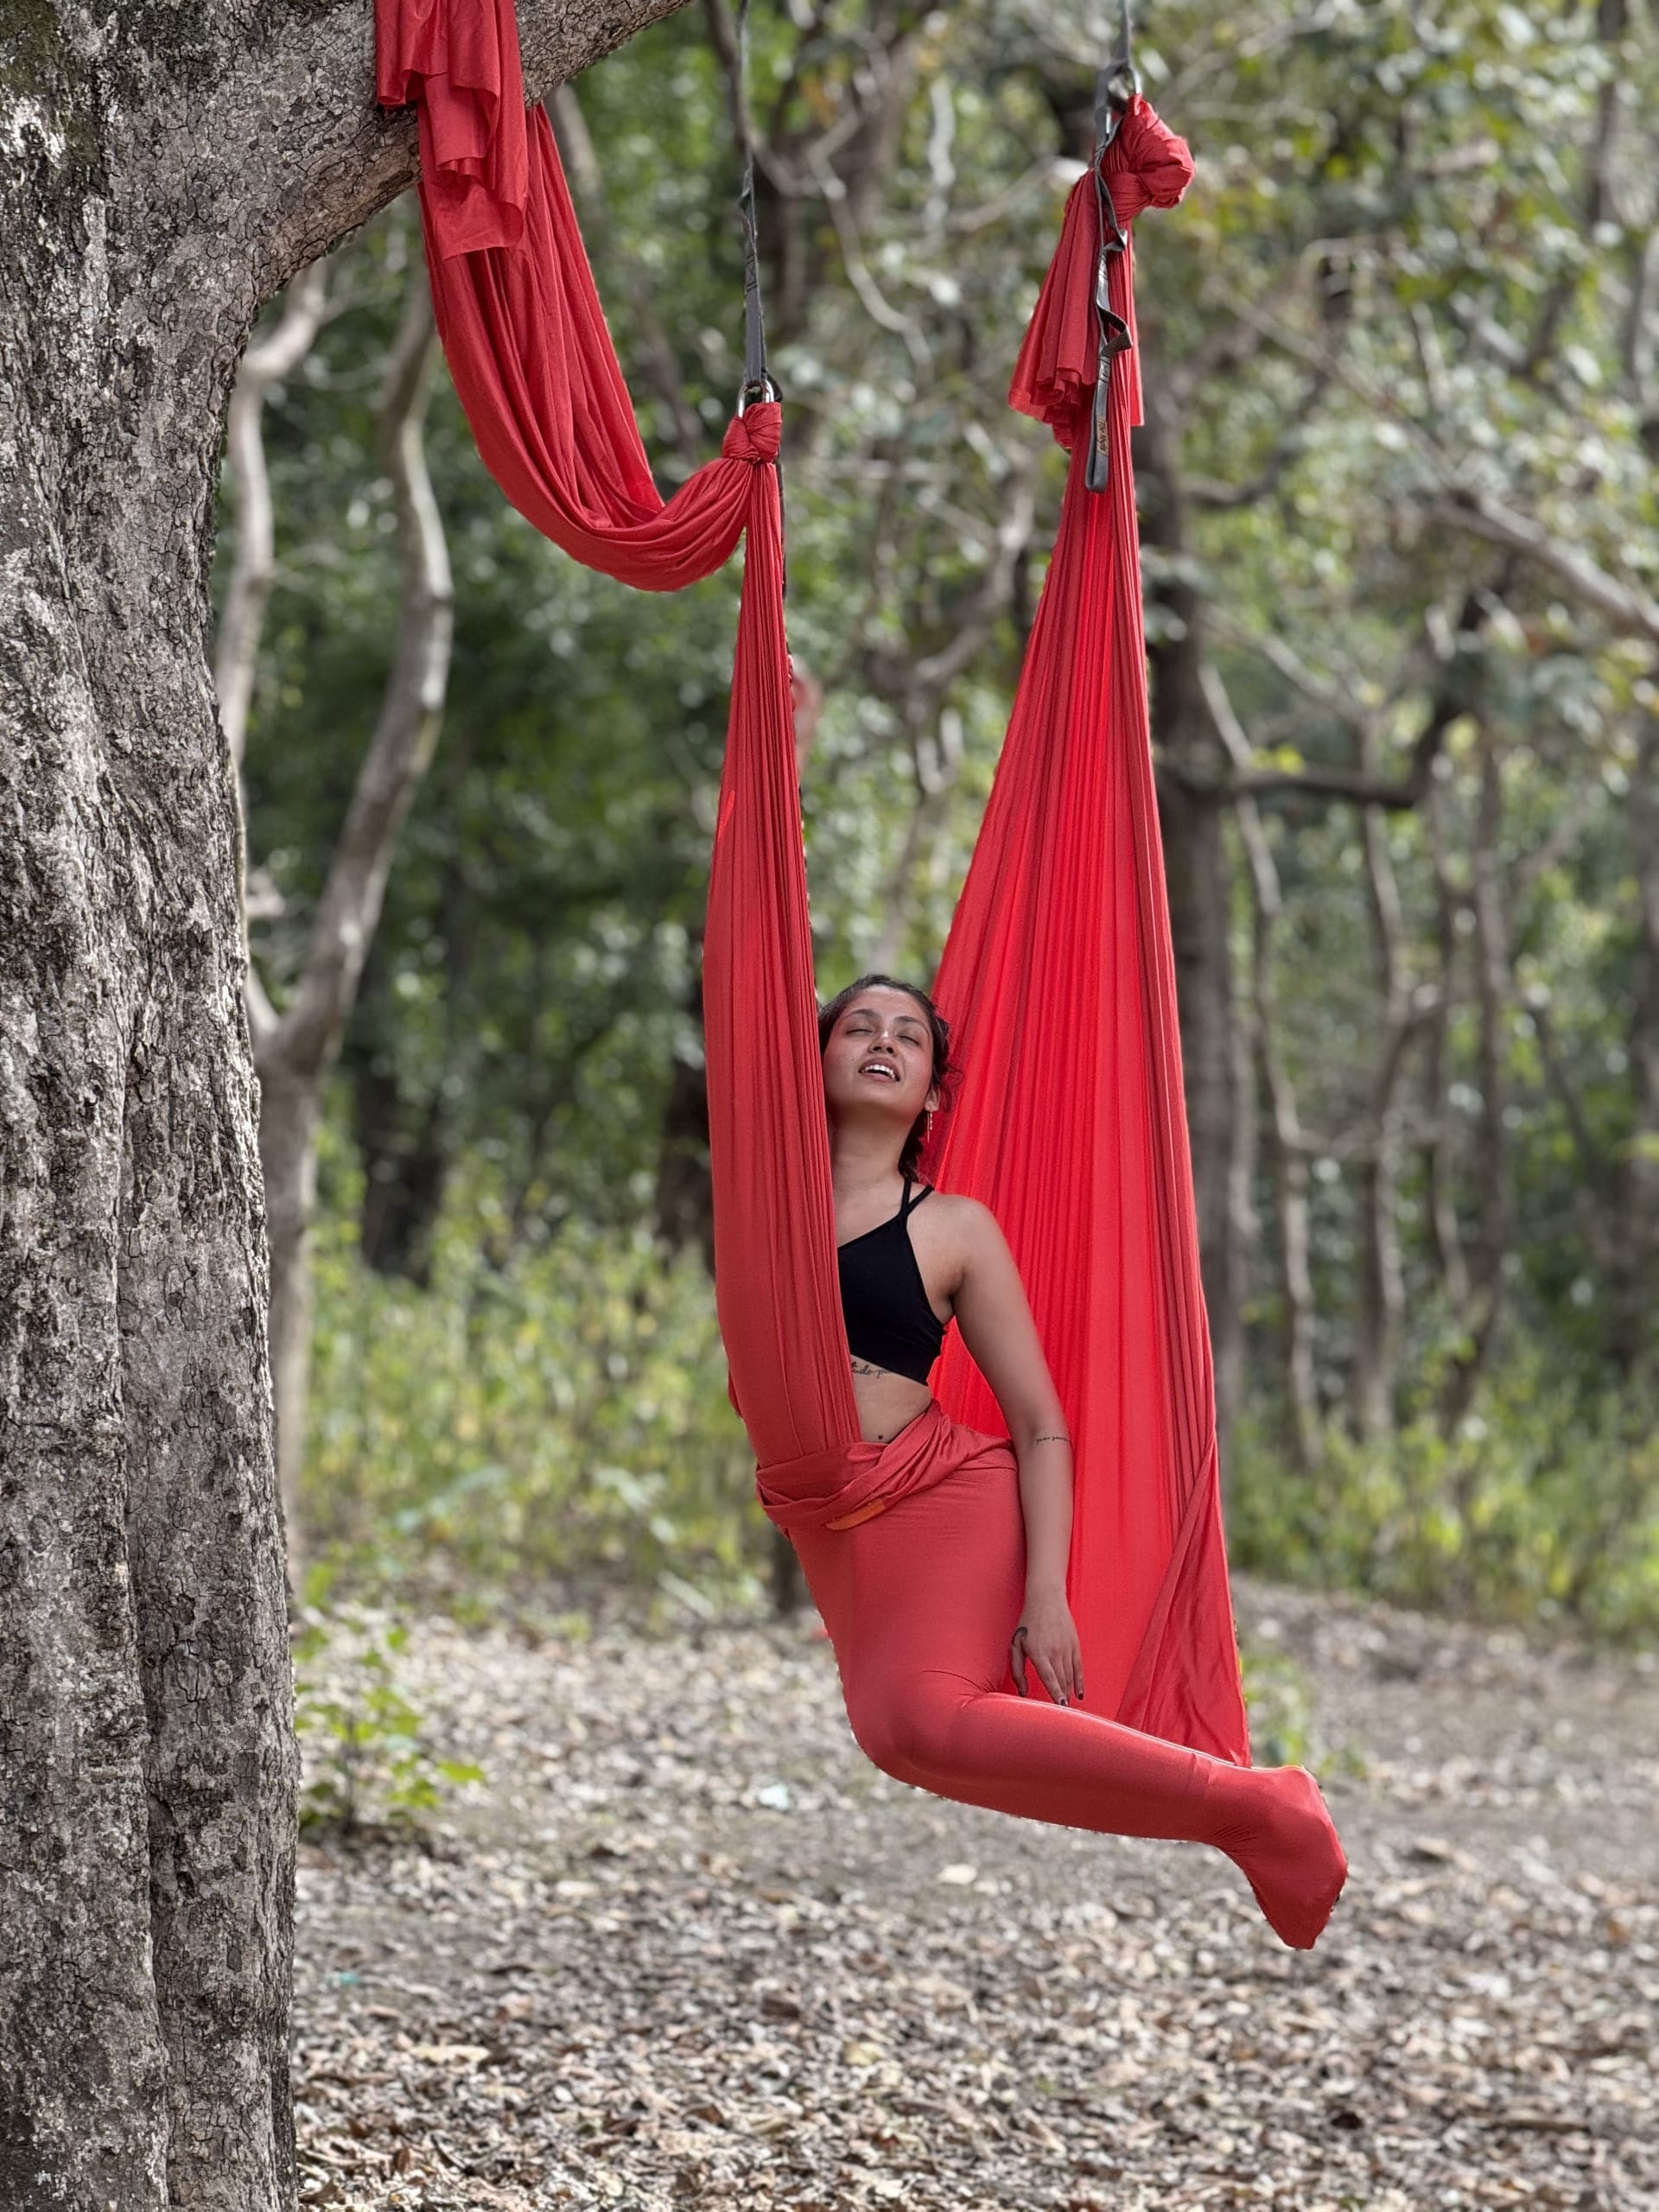
Want to master this sequence and teach it to others? Our 200-Hour Yoga Teacher Training covers Surya Namaskar in depth, including alignment and adjustments. To add a unique specialty after your foundational training, our Aerial Yoga Teacher Training teaches an innovative variation where Surya Namaskar is practiced supported by a silk hammock for deeper spinal decompression.
Frequently Asked Questions
How many rounds of Surya Namaskar should a beginner do?
Start with 2 to 4 rounds and put all your attention on coordinating the breath with the movement rather than on the number. As your strength and stamina grow over a few weeks, add a round or two at a time. Many regular practitioners settle at around 12 rounds. There is no need to chase large numbers — a small, mindful practice done daily is far more valuable.
Can I do Surya Namaskar every day?
Yes. Daily practice is exactly how Surya Namaskar is traditionally done, and a healthy body responds well to it. Listen to your body, take a gentler or shorter version on tired days, and rest fully if you are unwell or injured.
Is Surya Namaskar good for weight loss?
Practised at a steady, dynamic pace, Surya Namaskar raises the heart rate and metabolic rate and tones the whole body, so it can support weight management as part of a balanced lifestyle. It is not a quick fix on its own — pairing regular practice with sensible eating, good sleep and other movement gives the best results.
What is the best time to practise Surya Namaskar?
Sunrise, on an empty stomach, is the traditional and ideal time — the mind is calm and the practice energises you for the day. If mornings do not work for you, any time of day is fine provided your stomach is empty; wait two to three hours after a meal.
Should I do Surya Namaskar before or after other asanas?
Surya Namaskar makes an excellent warm-up because it gently mobilises the whole body and links breath with movement. It is commonly practised near the start of a session, after a brief settling, and followed by the standing and seated postures. Always finish your overall practice with rest in Savasana.
I have stiff hamstrings and can't touch the floor. Am I doing it wrong?
Not at all. Touching the floor with straight legs is not the goal — a long, healthy spine is. Bend your knees as much as you need, or place blocks under your hands. Over months of consistent practice the hamstrings gradually lengthen on their own. Forcing the stretch only risks the lower back.